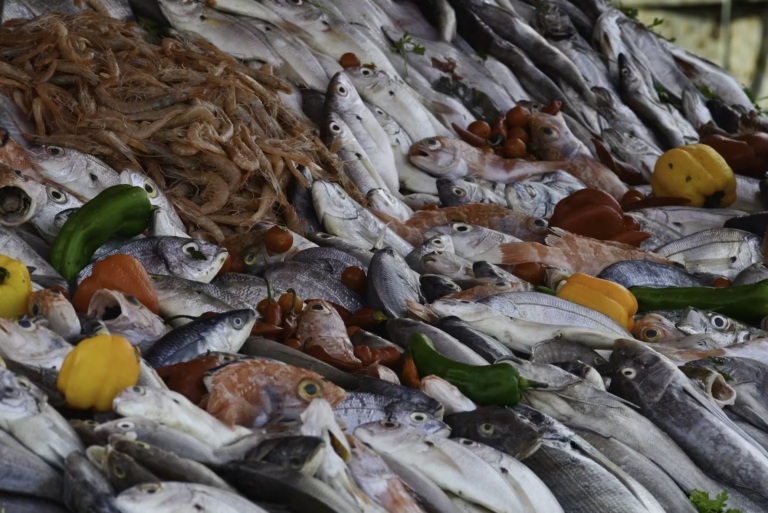
Some people plan their road trips around beautiful villages, historic landmarks, or particularly scenic routes.
Sam and I have been known to plan ours around French bakeries.
Whenever we’re traveling through France, there’s a good chance we’ll skip breakfast at our hotel or wherever we’re staying. Not because we’re particularly disciplined about breakfast, but because we know that somewhere along the road, there’s probably a wonderful French bakery waiting for us.
And frankly, that’s a much better reason to get up in the morning.
Two of our favorite places to stop are Boulangerie Feuillette and Marie Blachère. They have such tempting displays of breads, pastries, cakes, and all sorts of little French treats that choosing just one thing is almost impossible.
At Feuillette, I’m particularly fond of the canelés.
A good cup of coffee, a freshly baked canelé, perhaps a madeleine as well, and I’m perfectly happy.
Of course, we never leave empty-handed. There’s usually a little paper bag containing a few extra pastries for the road.
Although, somehow, the contents of that bag rarely survive the entire journey.
My Love Affair with Canelés
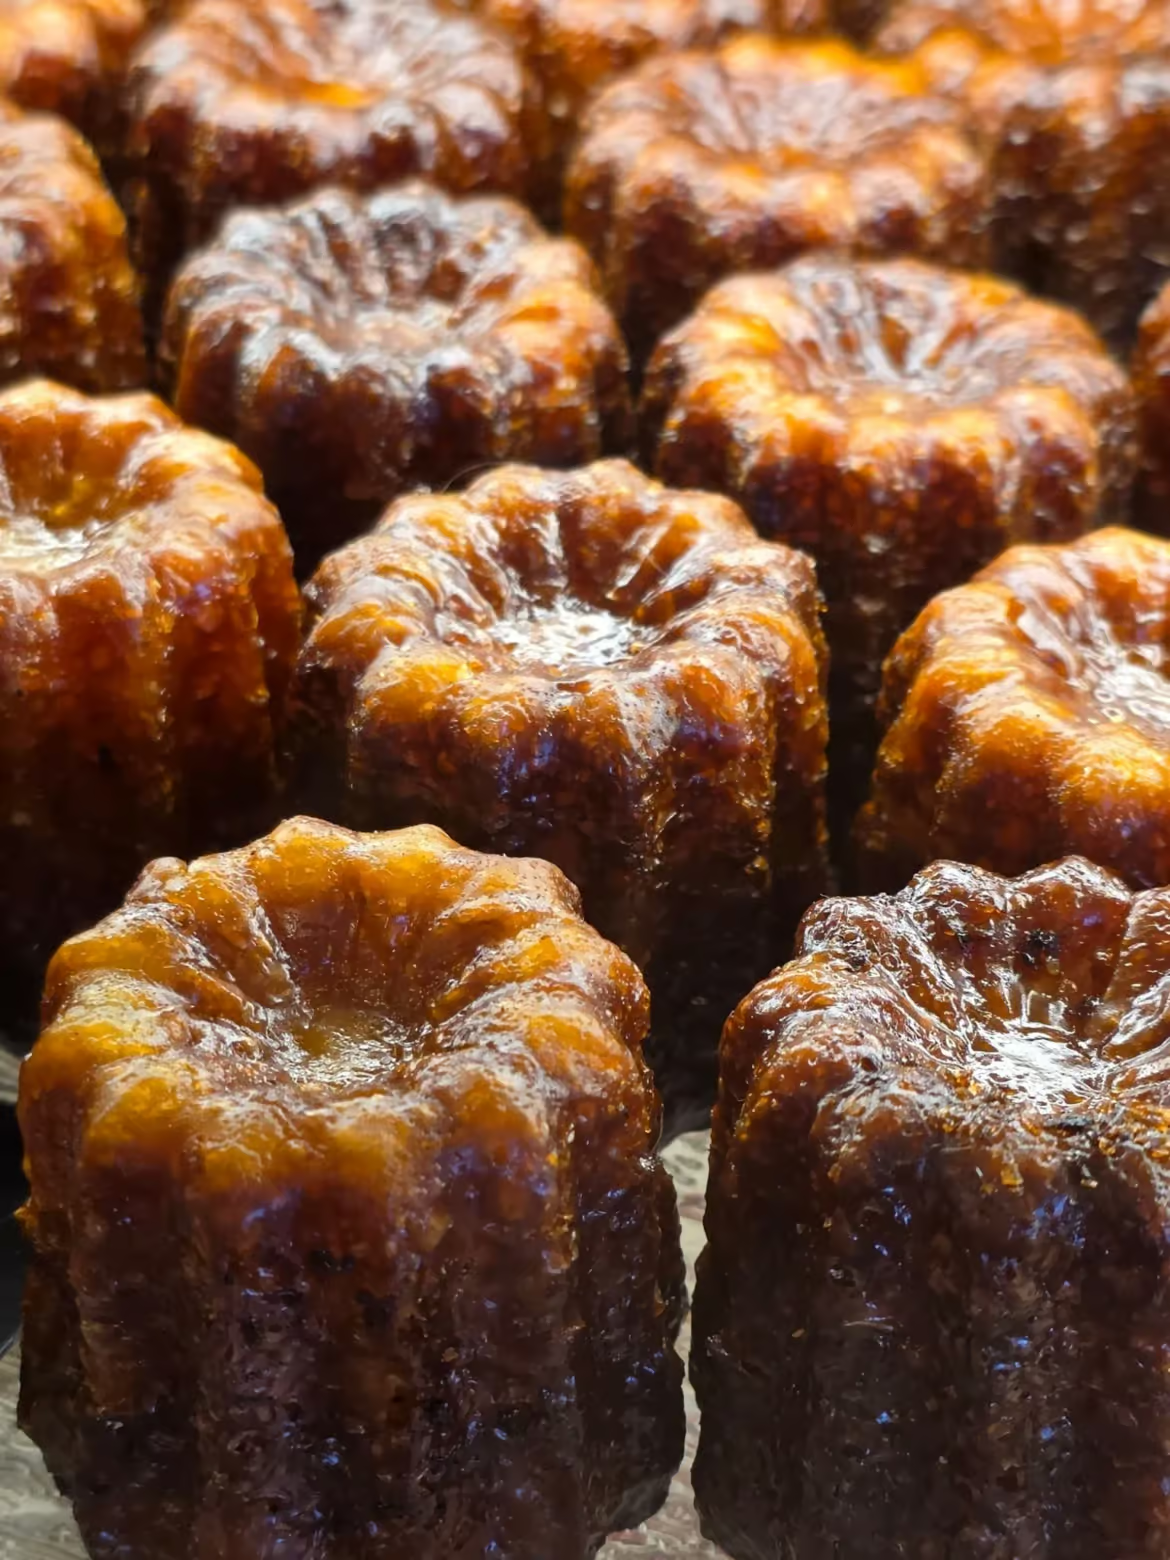
The first thing you notice about a proper French canelé is its beautiful dark, caramelized exterior.
It almost looks as though it’s been baked a little too long.
But that deep brown crust is exactly what you’re looking for.
Bite into it, and there’s a delicate contrast between the firm, caramelized outside and the soft, almost custard-like center.
The flavor is wonderfully rich, with vanilla, a little rum, and that unmistakable caramelized sweetness.
It’s unlike a muffin, a sponge cake, or any ordinary little pastry.
And perhaps that’s why I became so fond of them.
Every time we stopped at Feuillette, I’d find myself looking for the canelés among all the other beautiful pastries.
Eventually, I decided that relying on our next journey through France simply wasn’t good enough.
I needed to learn how to make them myself.
What Exactly Is a Canelé?
A canelé, sometimes written cannelé, is a small traditional French pastry associated with Bordeaux, in southwestern France.
It’s baked in a distinctive fluted mold, giving it that elegant shape with ridged sides and a slightly rounded top.
Traditionally, the batter is made with milk, eggs, sugar, flour, butter, vanilla, and rum.
That sounds remarkably simple, doesn’t it?
But canelés are all about what happens in the oven.
The outside develops a deeply caramelized crust, while the inside stays soft, tender, and almost creamy.
That contrast is what makes them so special.
The history of canelés is surrounded by a few charming stories, including connections to religious communities in Bordeaux. Not all of those stories are firmly documented, but the pastry itself has become one of the city’s most recognizable specialties.
And once you’ve tasted a really good one, it’s easy to understand why.
Why I Started Making Canelés at Home
I quickly discovered that there’s a difference between eating a canelé and making a really good canelé.
The ingredients aren’t particularly unusual, and the batter itself is fairly straightforward.
But getting that beautiful dark crust without drying out the middle takes a little practice.
My first attempts certainly taught me a few things.
The baking temperature matters, the type of mold can make a difference, and the batter benefits from time in the refrigerator before baking.
Once you understand these little details, the whole process becomes much more predictable.
And the reward is wonderful.
There’s something rather satisfying about opening your oven and finding a tray of beautifully caramelized canelés, each with its own delicate ridges and deep golden-brown color.
Especially when the kitchen smells of vanilla and caramel.
The Secret to a Good Canelé
If there’s one thing I’ve learned, it’s that you shouldn’t judge a canelé by the same standards as an ordinary cake.
A pale, fluffy canelé might look pretty, but it won’t have that distinctive contrast that makes the French original so delicious.
You want a well-caramelized exterior.
Not burned, of course, but noticeably darker than most cakes or pastries.
The center should remain moist and delicate, with a texture somewhere between a tender cake and a baked custard.
And don’t be surprised if the batter seems unusually thin. Canelé batter is much closer to a crêpe batter than a traditional cake batter.
That’s perfectly normal.
Does the Batter Really Need to Rest?
For the recipe I use, resting the batter is an important part of the process.
It gives the flour time to hydrate and allows the ingredients to settle together before baking.
I prefer preparing it in advance and leaving it covered in the refrigerator overnight, according to the recipe instructions.
It also makes canelés surprisingly convenient when you’re entertaining.
You can prepare the batter the day before and concentrate on baking them when you want to serve them.
Copper or Silicone Canelé Molds?
Traditional canelés are associated with beautiful copper molds, which conduct heat very effectively and help produce that characteristic caramelized crust.
They’re wonderful, but they can also be quite expensive.
Fortunately, other types of molds are available.
Metal molds are a useful option for home baking, while silicone molds are convenient and easy to handle, although achieving the same deeply caramelized exterior can be more challenging.
Whichever type you choose, follow the preparation and baking instructions suited to your molds.
And remember that ovens vary, so your first batch is also an opportunity to learn how canelés behave in your own kitchen.
How to Serve French Canelés
For me, there’s really only one answer.
With coffee.
Preferably a good espresso or a café crème, served while the canelés are still at their best.
They’re lovely as a little afternoon treat, and I think they make a particularly elegant addition to a dessert table when you’re having friends over.
You can also serve them at the end of a dinner party instead of a large dessert.
A small French pastry and a good cup of coffee can be a wonderful way to finish a meal.
But I must admit, my favorite way to eat them is still the simplest.
Sitting at a table in a French bakery with Sam, watching people come and go, and enjoying a canelé alongside a steaming cup of coffee.
Or opening that little paper bag in the car and discovering there are still two left.
One for each of us.
Although that depends on who’s been holding the bag.
Bringing a Little French Bakery Home
Learning to bake canelés has become one of those little kitchen adventures I’m particularly glad I started.
Of course, I’ll never stop visiting French bakeries when we travel. Feuillette and Marie Blachère will always be tempting reasons to make an extra stop.
But now, whenever I start craving that beautiful caramelized crust and soft vanilla-scented center, I don’t have to wait until our next trip to France.
I can make them in my own kitchen.
And if you’ve ever tasted a canelé in a French bakery and wondered whether you could recreate it at home, I hope this recipe inspires you to try.
Just be warned.
Once you’ve learned to make them, you might find yourself baking a few extras for later.
Exactly as we do when we’re driving through France.
Canelés de Bordeaux
Ingredients
- 1 cup plus 1 teaspoon 250 ml whole milk
- 1 vanilla bean
- ⅝ cup 125 g superfine sugar (caster sugar)
- ½ cup plus 1 teaspoon 65 g all-purpose flour
- 3 large egg yolks
- 1 tablespoon plus 2 teaspoons 25 g unsalted butter
- 1 tablespoon plus 2 teaspoons 25 ml amber or dark rum (rhum ambré)
- Extra unsalted butter for greasing the molds
Method
- Infuse the milk with vanilla. Split the vanilla bean lengthwise and scrape out the seeds. Place the whole milk, vanilla seeds, and empty pod in a saucepan. Heat until the milk is just about to boil, then remove from the heat. Allow the vanilla to infuse for approximately 15 minutes.
- Combine the dry ingredients. Meanwhile, combine the superfine sugar and flour in a mixing bowl. Add the egg yolks and stir with a whisk until the mixture is smooth.
- Add the warm milk. Remove the vanilla pod from the milk. Gradually pour the warm milk into the egg yolk mixture, stirring gently as you go. Try to incorporate as little air as possible into the batter.
- Add the butter and rum. While the batter is still warm, add the unsalted butter and stir until completely melted. Then mix in the rum.
- Rest the batter overnight. If necessary, pour the batter through a fine-mesh sieve to remove any lumps. Allow it to cool, cover, and refrigerate for at least 12 hours.
- Preheat the oven. Preheat your oven to 425°F (220°C), using conventional heat rather than convection. If using silicone molds, check that they are suitable for this temperature.
- Prepare the molds. Carefully grease the canelé molds with a thin layer of softened unsalted butter. Make sure all the fluted grooves are evenly coated. Place the molds on a sturdy baking sheet.
- Stir the batter. Remove the batter from the refrigerator and stir gently. Some of the ingredients may have settled during the overnight resting period.
- Fill the molds. Divide the batter among the prepared molds, filling each approximately three-quarters full. This allows room for the batter to rise during baking.
- Begin baking. Place the baking sheet in the preheated oven. Bake large canelés for the first 15 minutes at 425°F (220°C).
- Reduce the temperature. Lower the oven temperature to 320°F (160°C) and continue baking for approximately 45 minutes. The exterior should be a deep chestnut brown with a well-caramelized crust. Exact baking times may vary depending on your oven and the material of your molds.
- Remove from the molds. Take the molds out of the oven and let them stand briefly. Carefully unmold the canelés while the molds are still warm. Be extremely careful, as the molds will be very hot.
- Cool completely. Transfer the canelés to a wire rack and allow them to cool completely. The exterior will become firmer as they cool.
- Important: Baking Mini Canelés
- The baking time of 15 minutes at 425°F (220°C), followed by approximately 45 minutes at 320°F (160°C), is intended for large canelés.
- For mini canelés, this total baking time is generally too long. Begin checking them earlier and adjust the baking time according to the size and material of your molds.